
Macbook are still sexy regardless of the age but they do slow down over time, The only reason someone would bring me one is to recover the data from it. Once that is done I recommend upgrading the standard hard drive that failed to a super fast SSD (solid state drive).
Simply put, the drives that came in old macbooks are the traditional type (the ones that fail and keep me in business for recovery) The new type are solid state drives and have no moving parts. This has several advantages including increased battery life and most importantly speed!
I do not offer this as a service (Im just too bloody busy recovering hard drives) but if im in a mega nice mood I may offer to do it for someone once the recovery is complete and they need a machine up and running again. I have just done 2 back to back and took some pictures of the last one to show you fine people that care enough to read this, so lets have a look at the steps involved...
For this Im using a Macbook Pro A1278 and a Samsung 512GB 850 EVO SSD , you can buy it here

You can get other sizes on these but I would say 512GB is a good size unless you really need more space but size goes up, cost goes up.
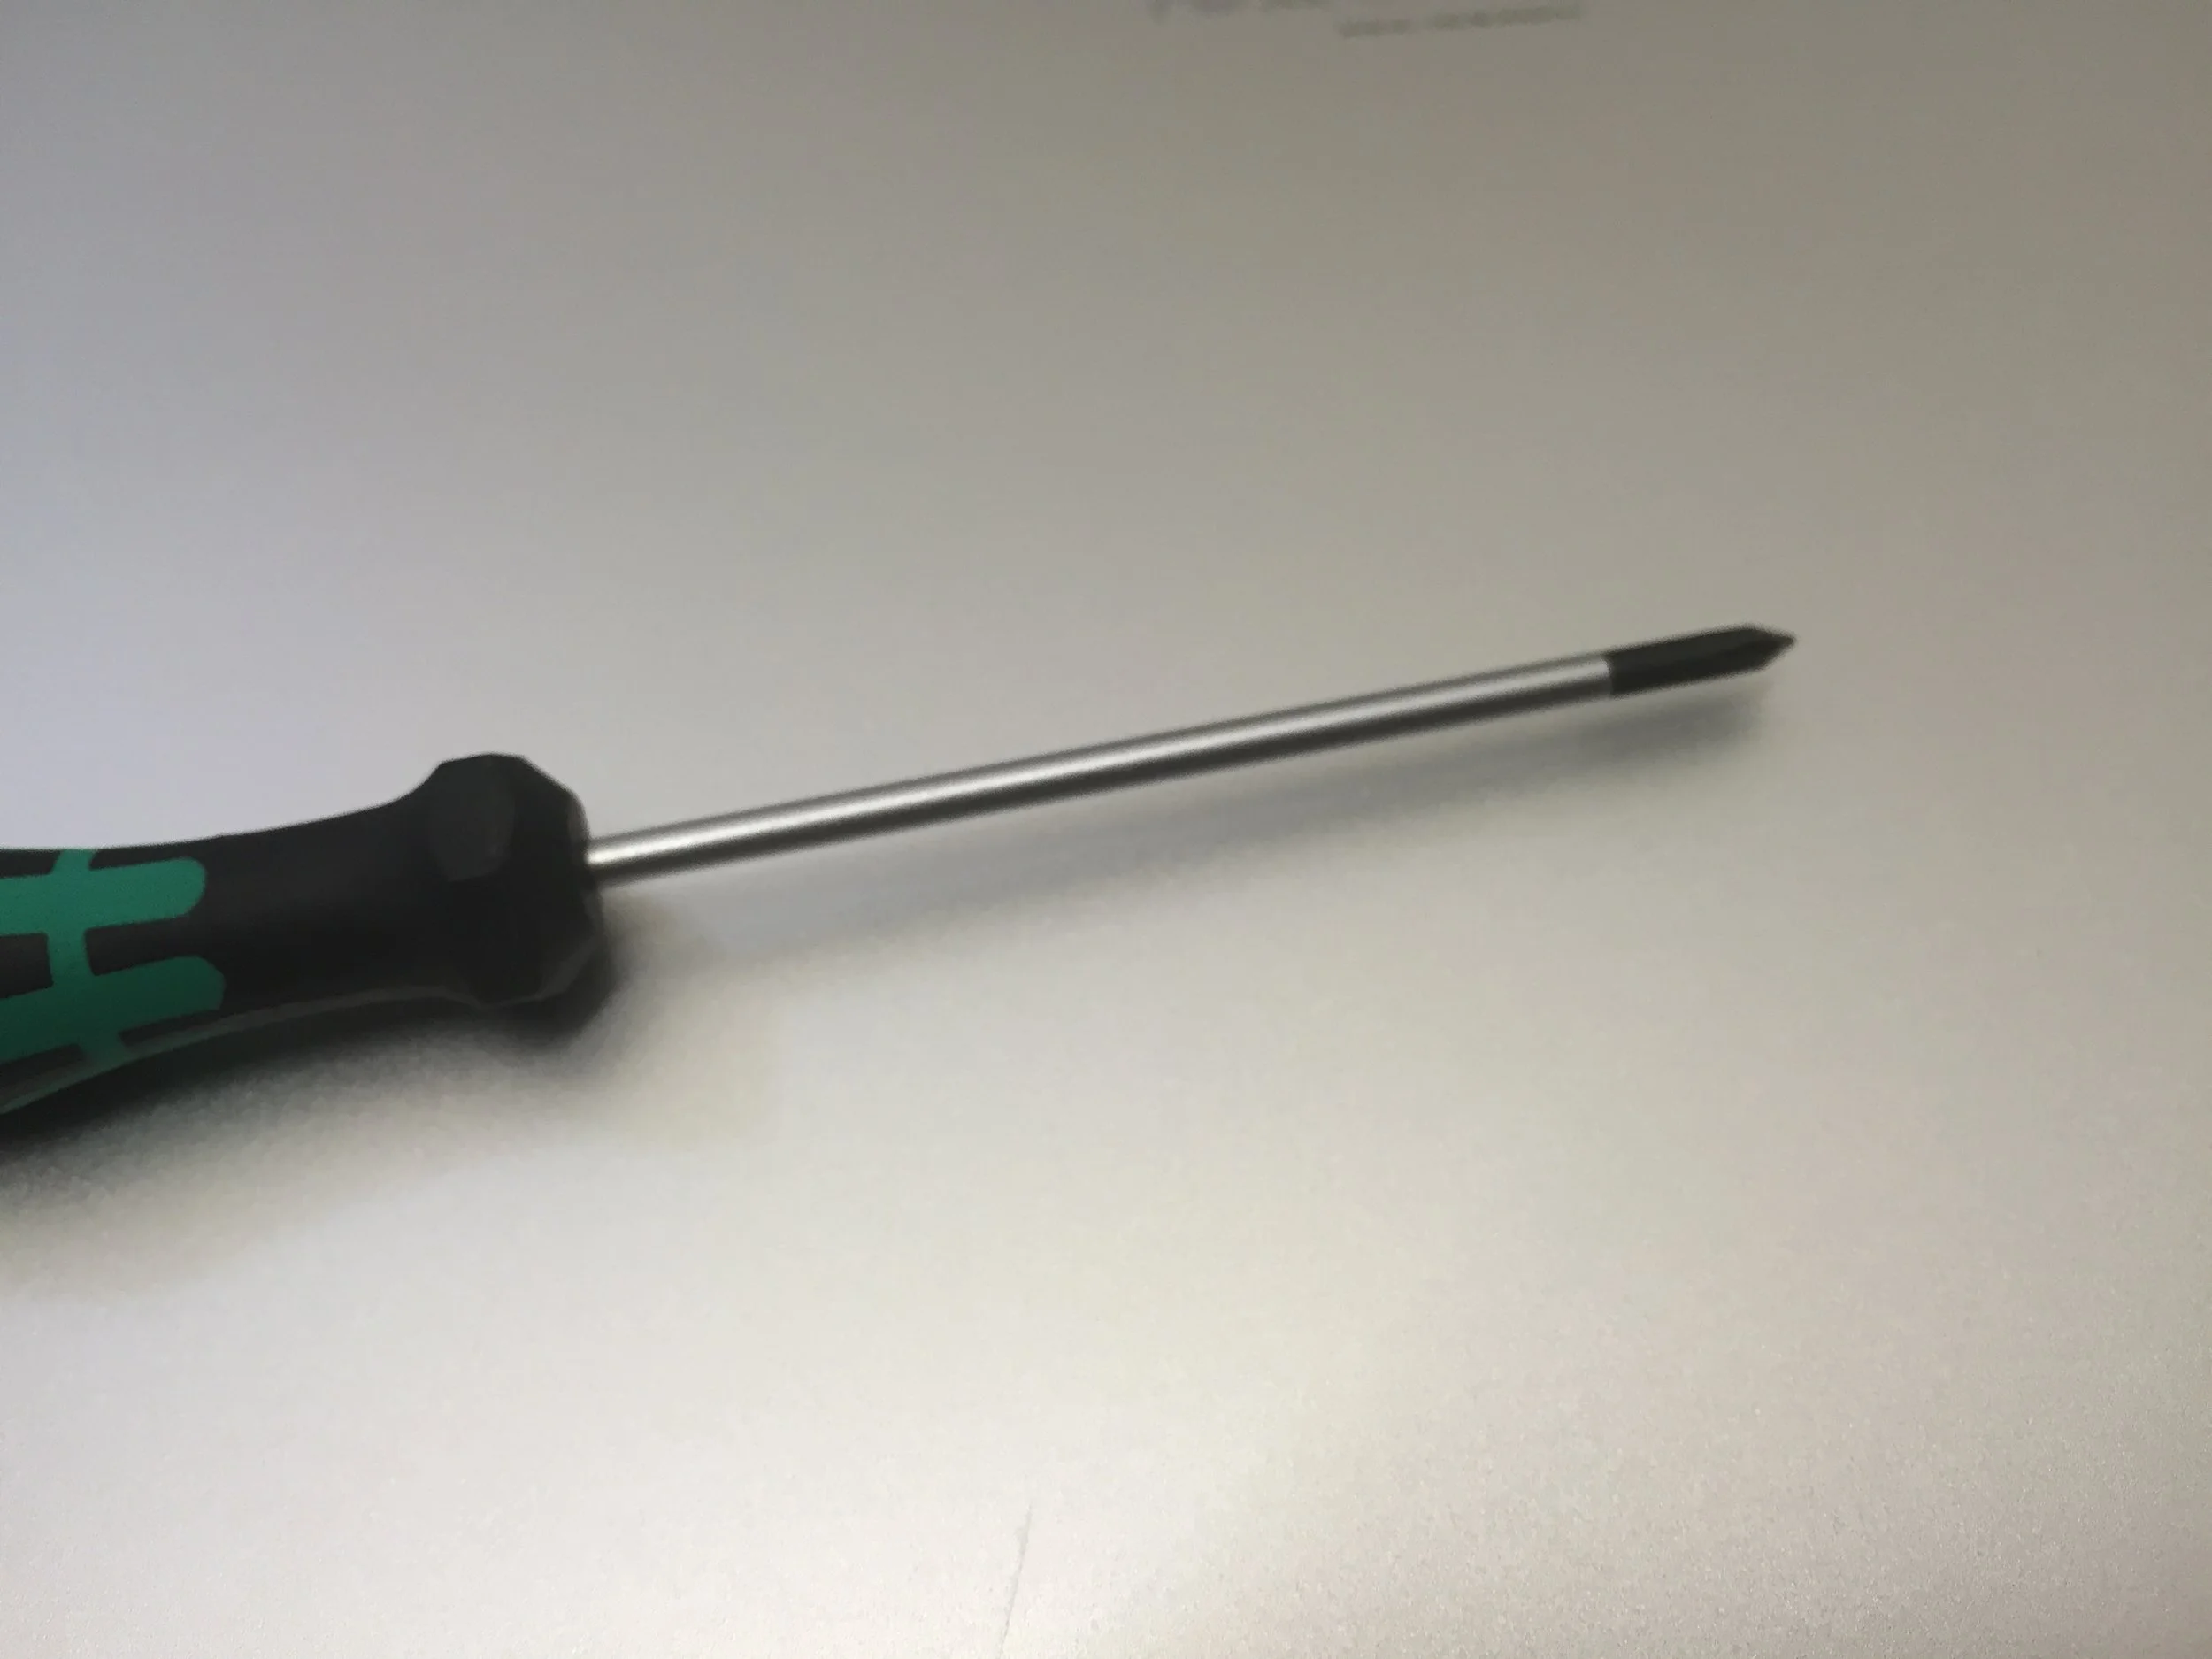
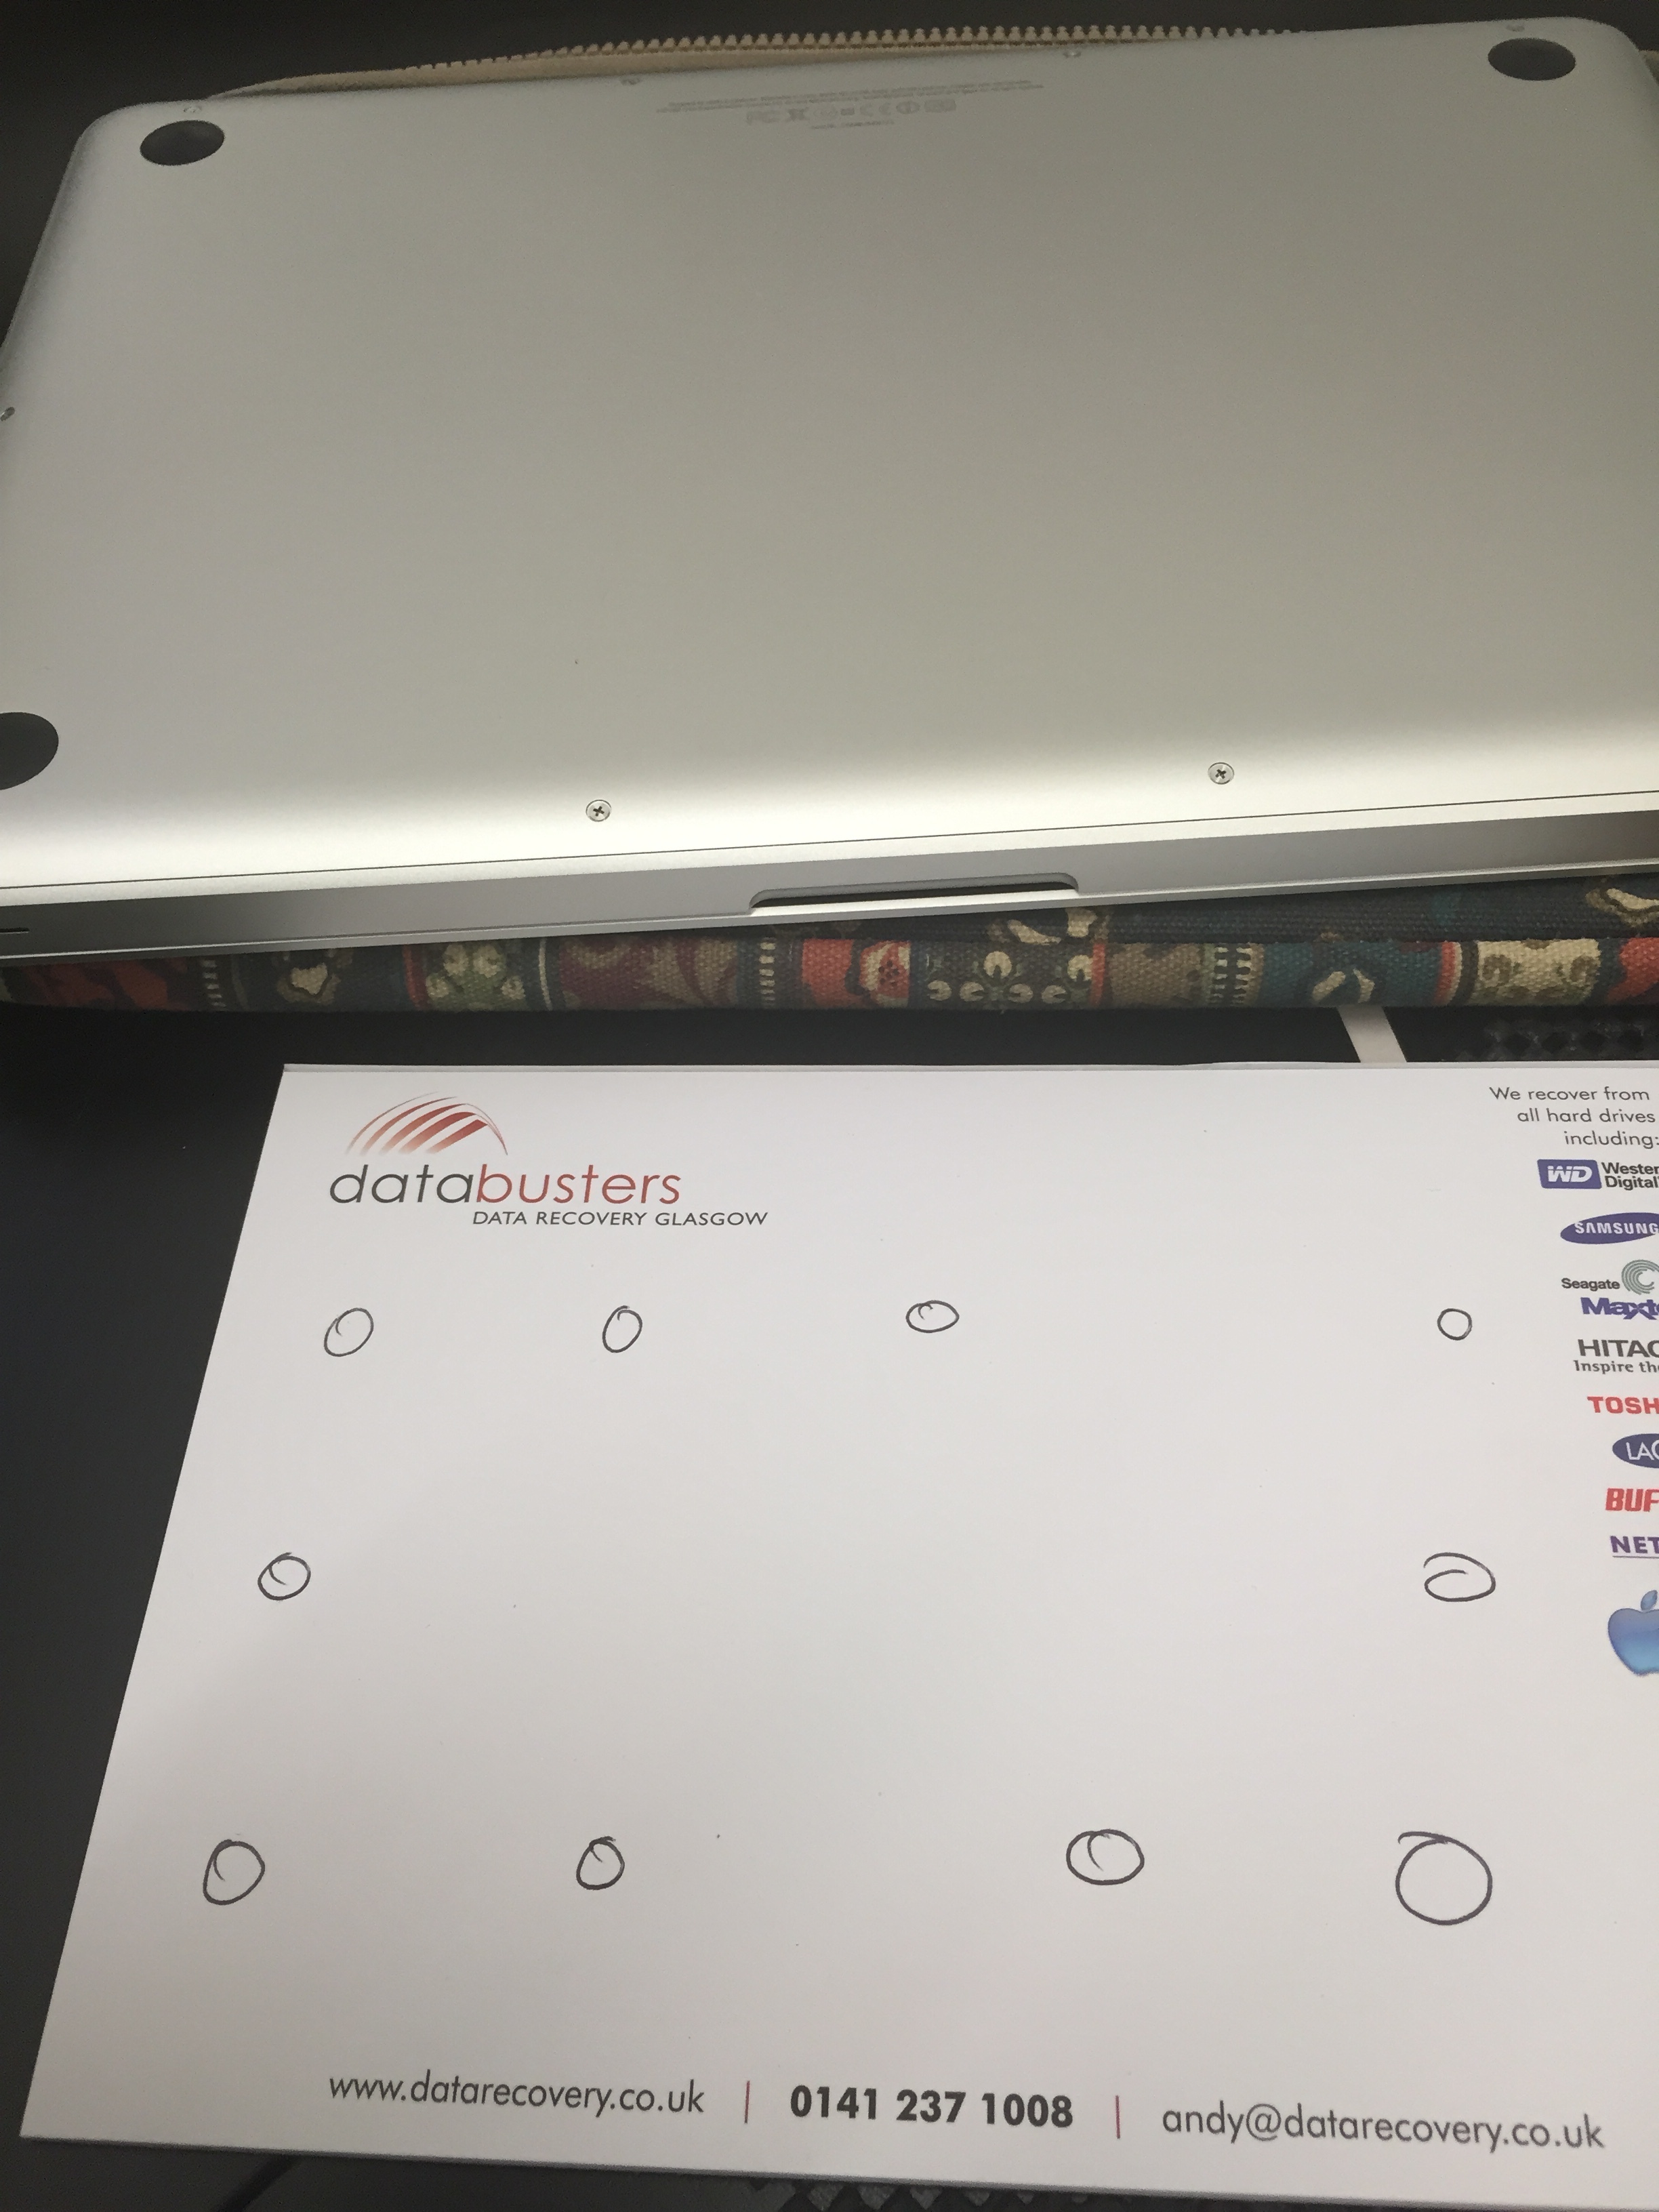
We need to remove the 10 screws from the base, I use a fine tip phillips and I draw 10 circles on a bit of paper, 3 of the screws are a different length on most models so its a good idea to keep track of what ones go where.


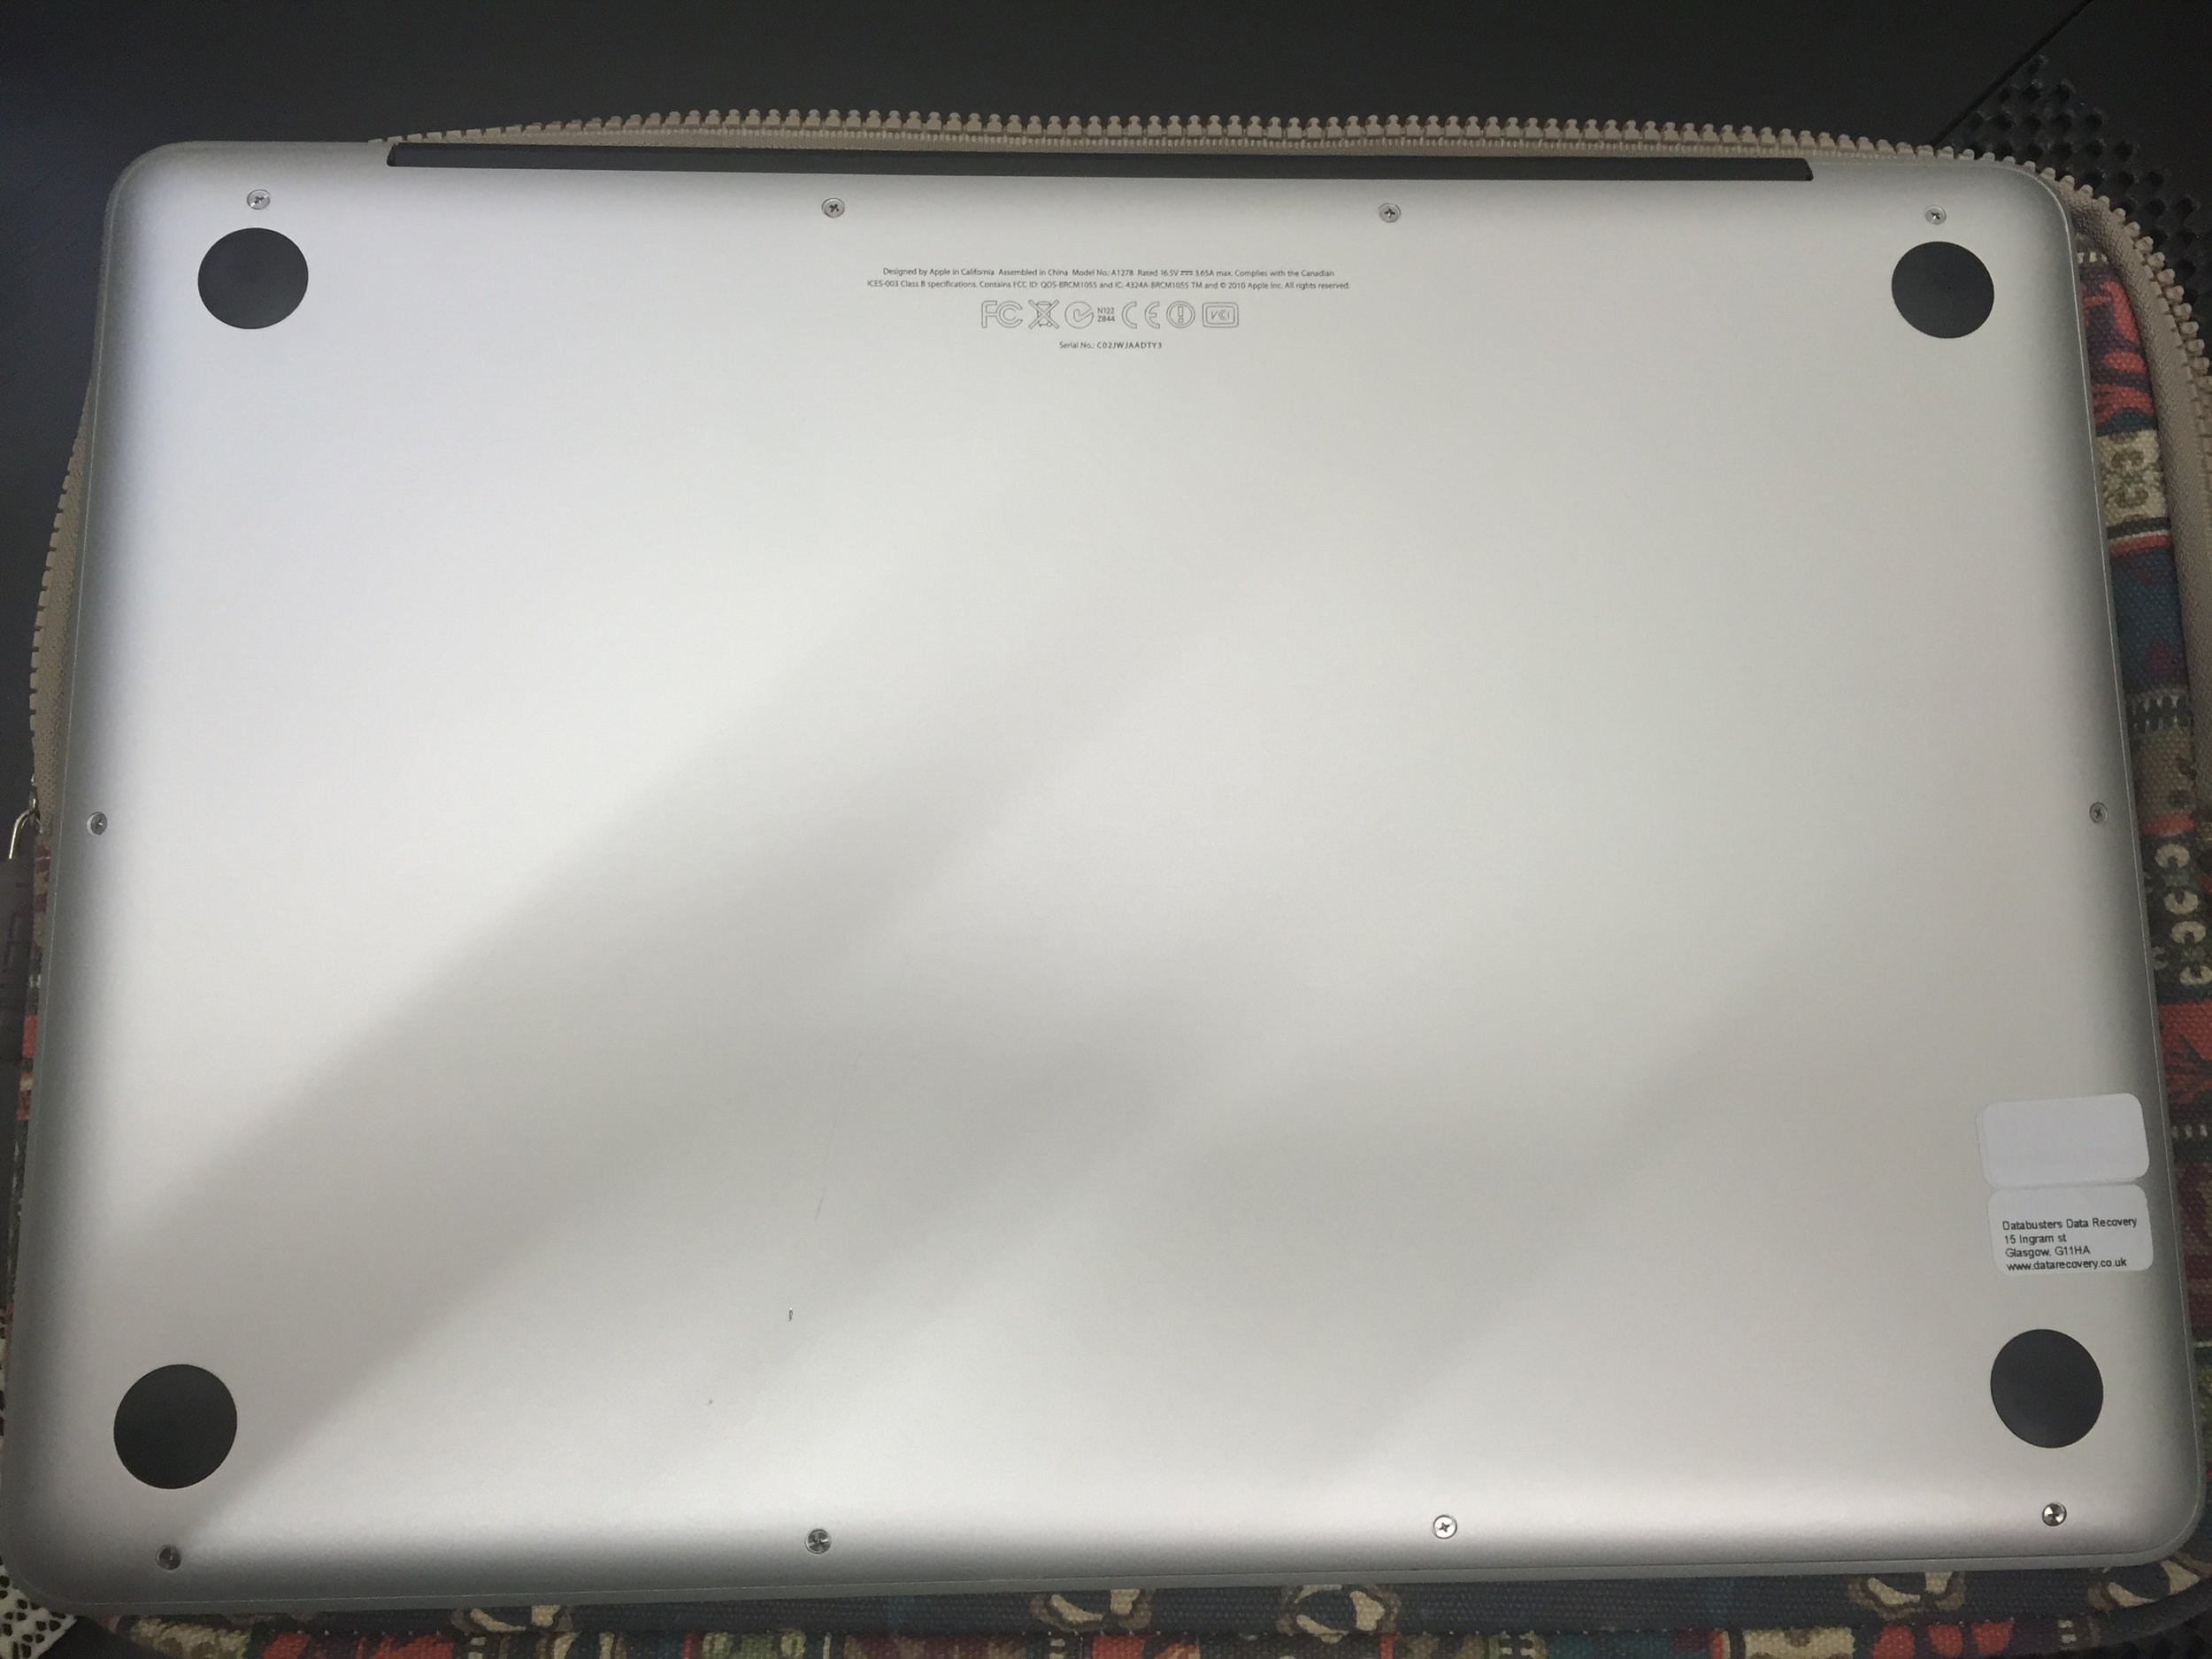
Once you get the base off it should look something like this..

This is the Toshiba drive that we will be removing however this could easily say Hitachi or Seagate. Apple don't actually make hard drives, they just use drives from other manufacturers.

Remove the little bracket holding the drive in and place it to one side.

Gently remove the SATA bracket that connects the drive to the macbook by holding it. Sometimes takes a bit of a wiggle but dont stress the cable underneath, this is fragile.
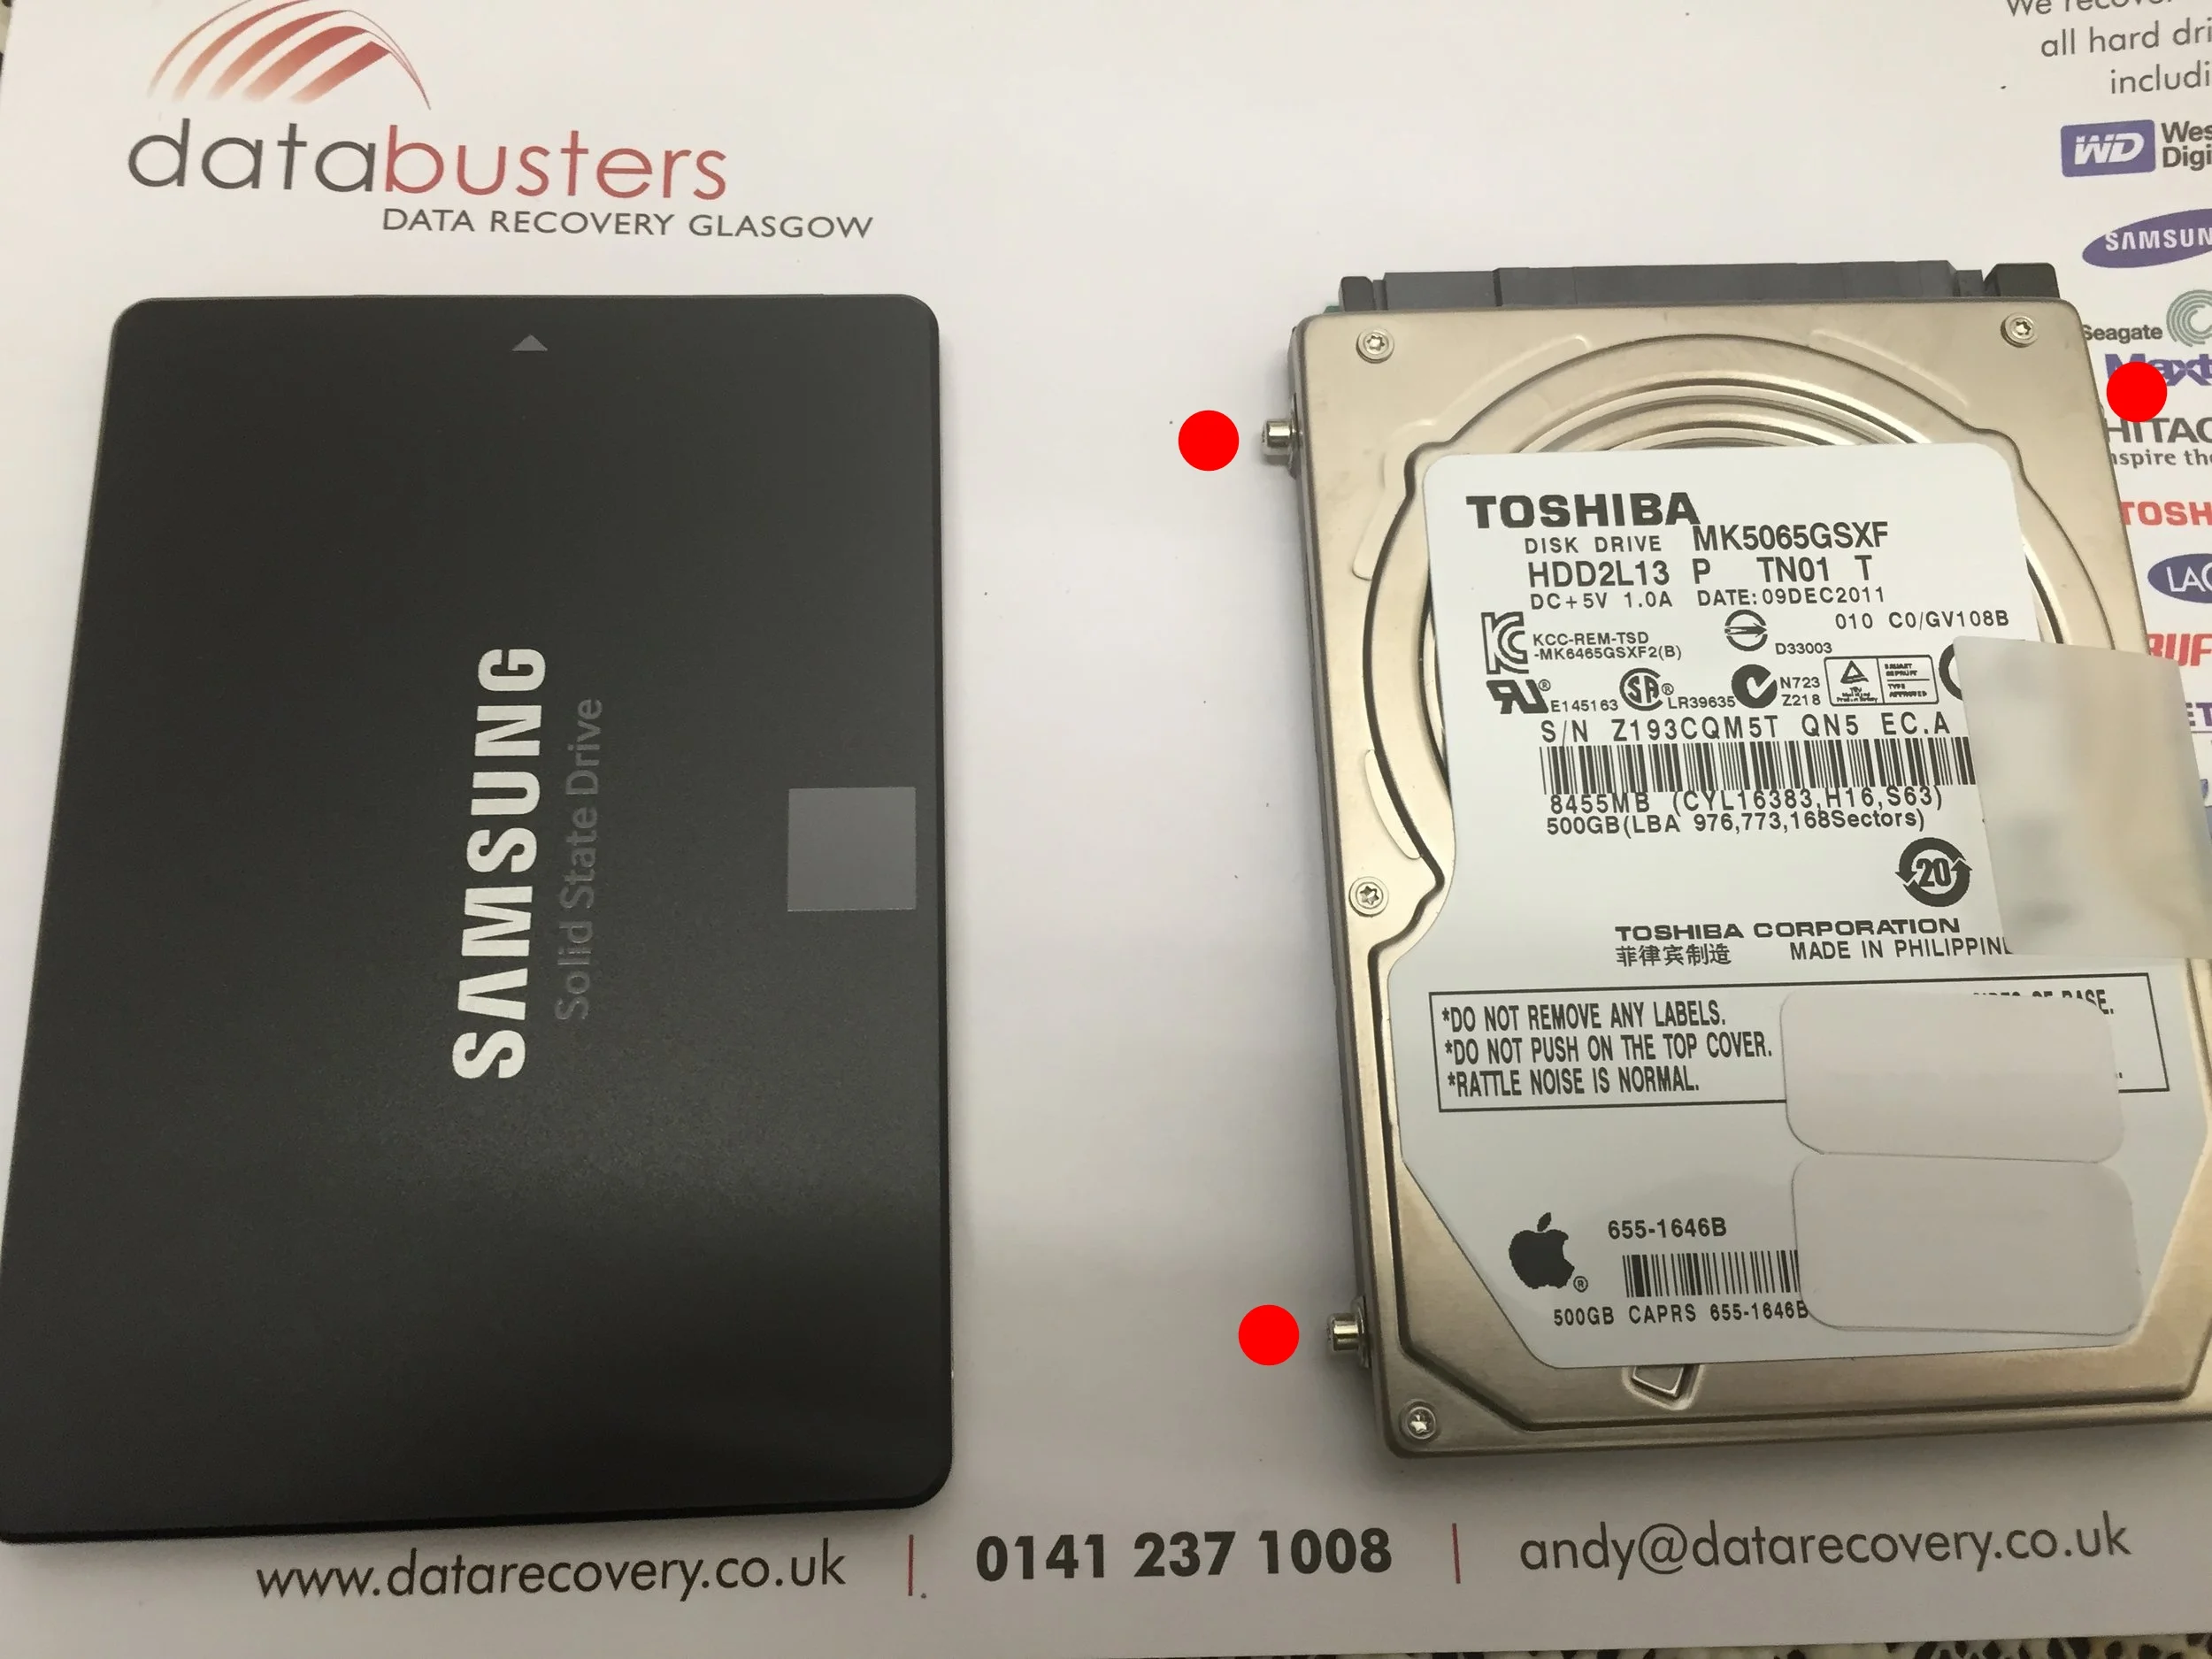


Here we can see the New SSD drive next to the old one you will need a torx screwdriver to remove the small screws in the side as they hold the drive in place and then screw them into the new ssd. Time to get relatively excited at this point, your half way there :) 10/10

Repeat the steps in reverse and replace the drive back into the macbook making sure the screws on the side match up to the holes to fix the drive in place. At this point you can also re affix the bracket and screw it back down.
Get the screws back in the base keeping in mind the way they came out and flip the macbook back round. We are going to power it up

Ok we are back in business, now its time to power this thing up and start the Internet Recovery for this we dont need any disks.
Short video I made to show how to get the macbook into internet recovery mode. For this you want to press and hold command + R when the machine is powered. This always takes me a few attempts so don't worry if you don't get it right first time.

You can release your wee fingers once you see this, your on easy street now.
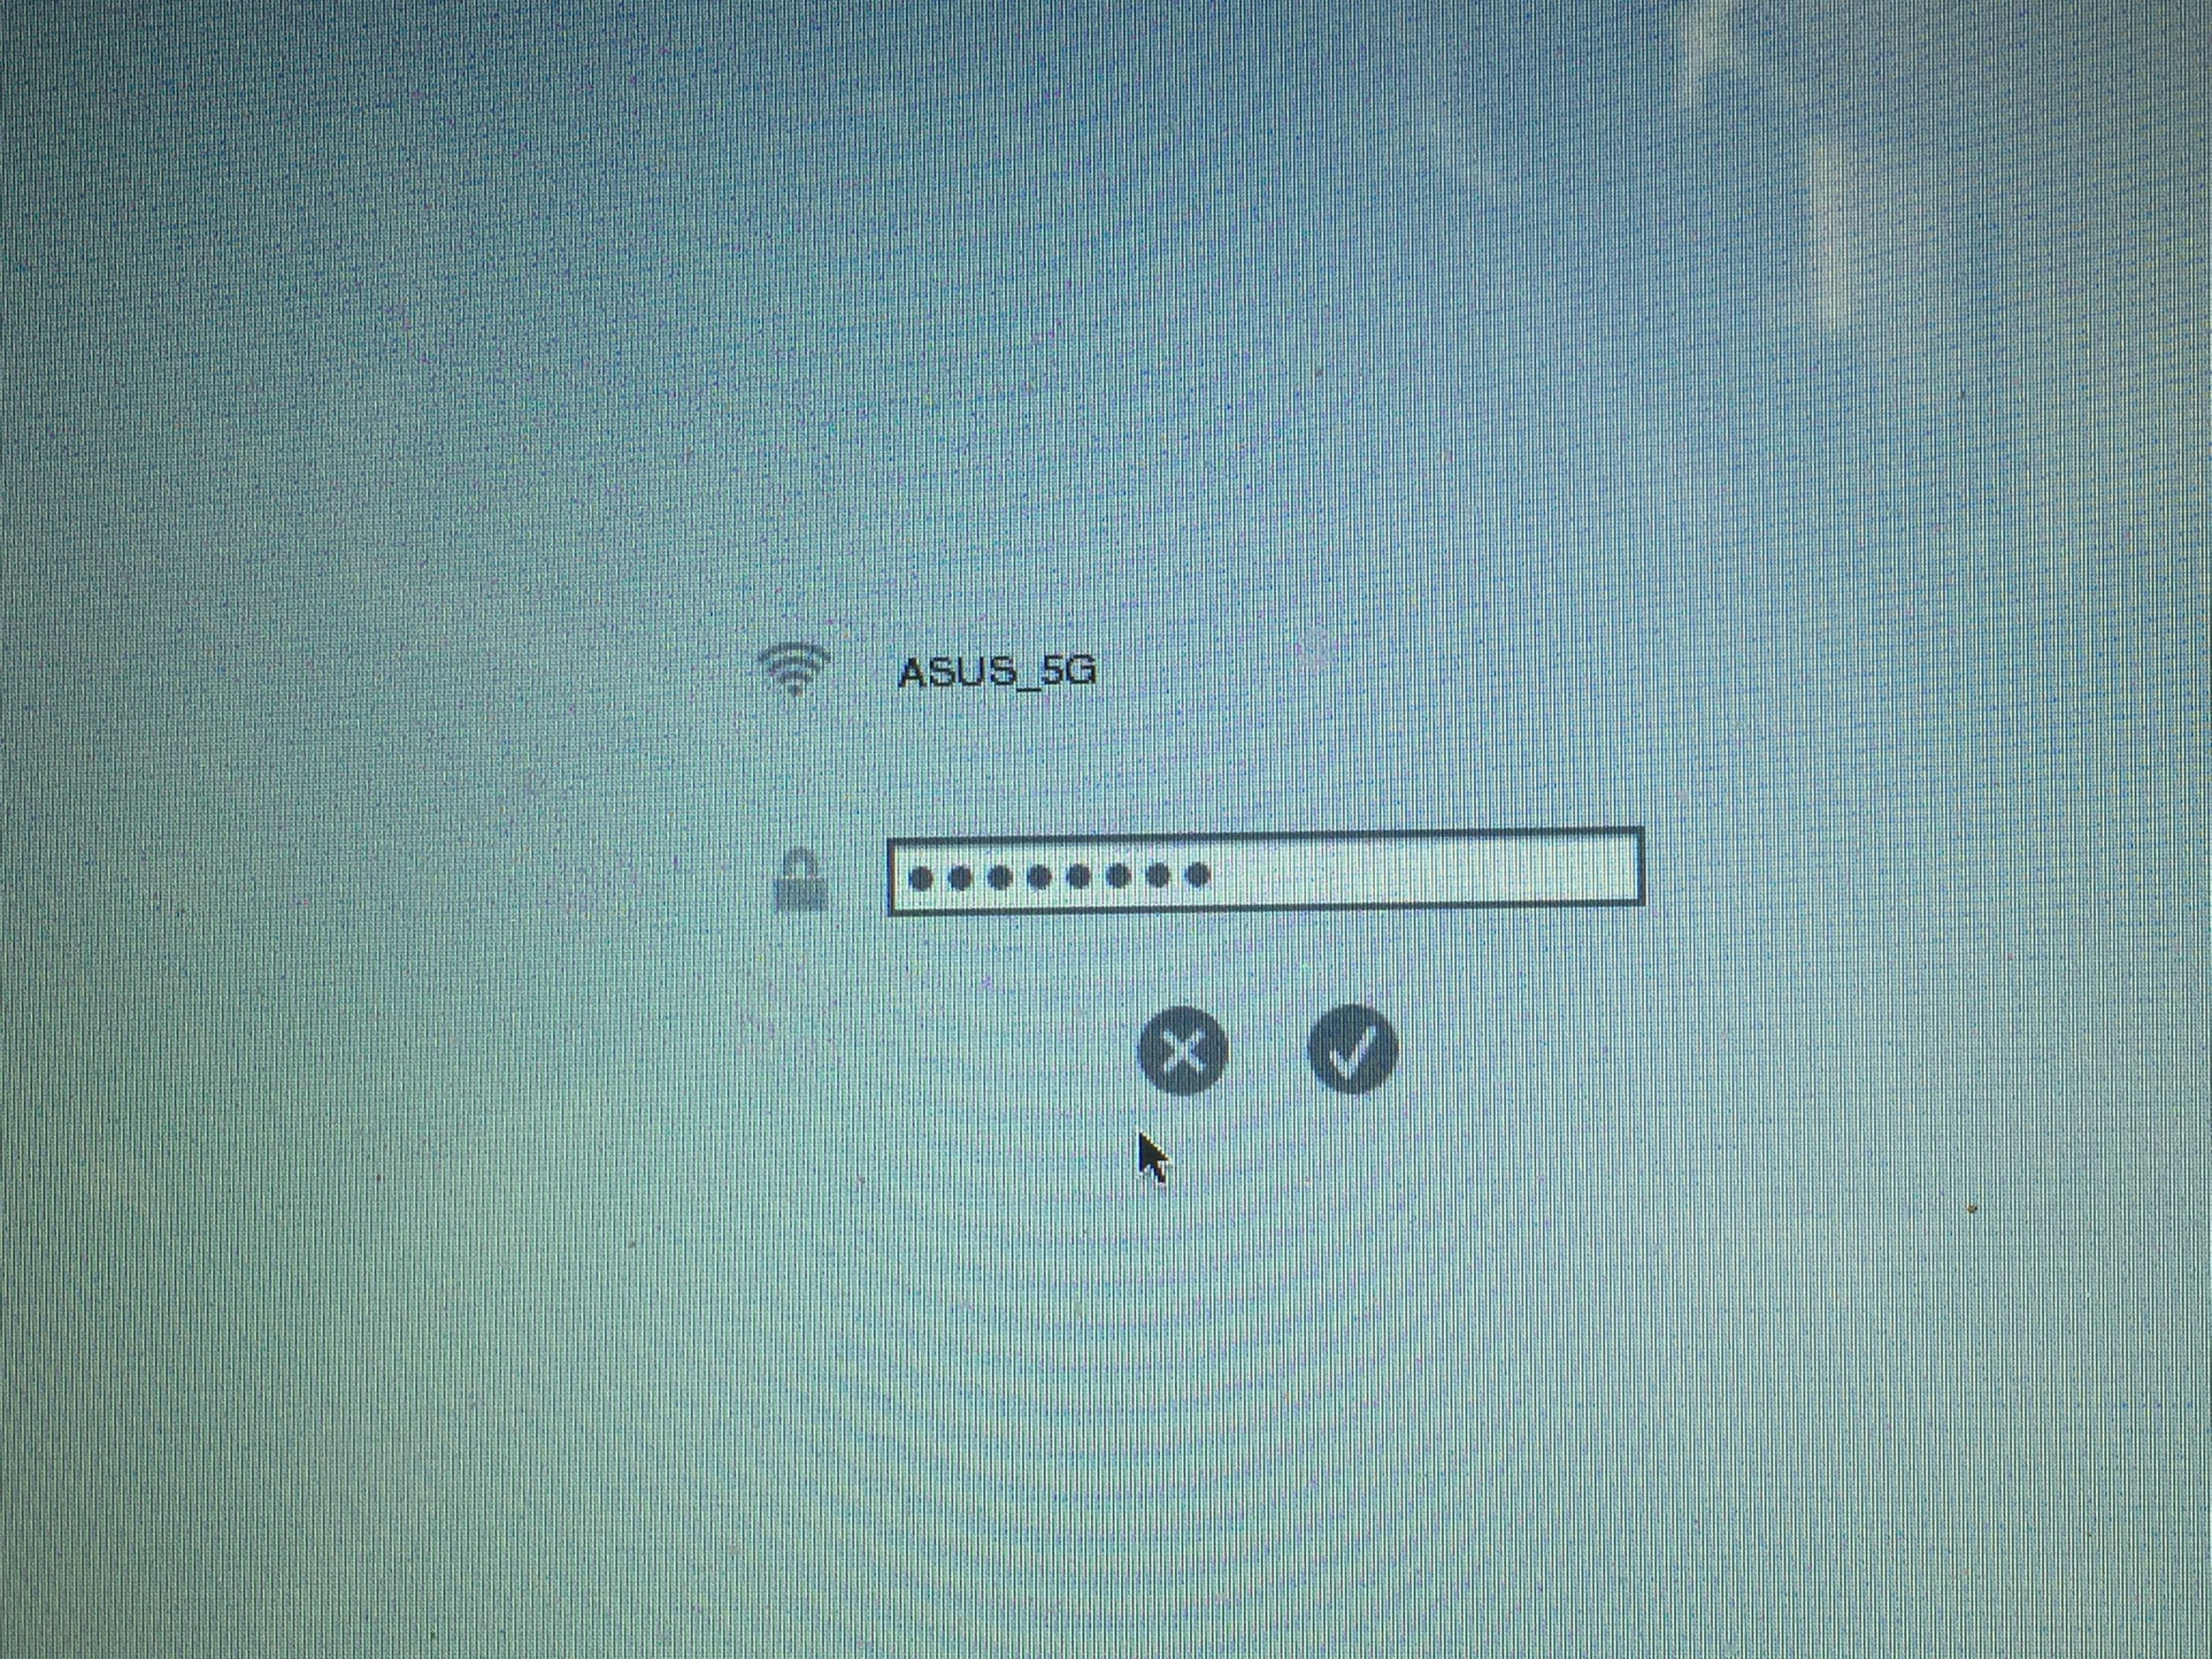
Its going to ask you for your WIFI name and password, given that this is an internet recovery installation of the operating system then this is quite important. Do that then click the tick box

Choose language
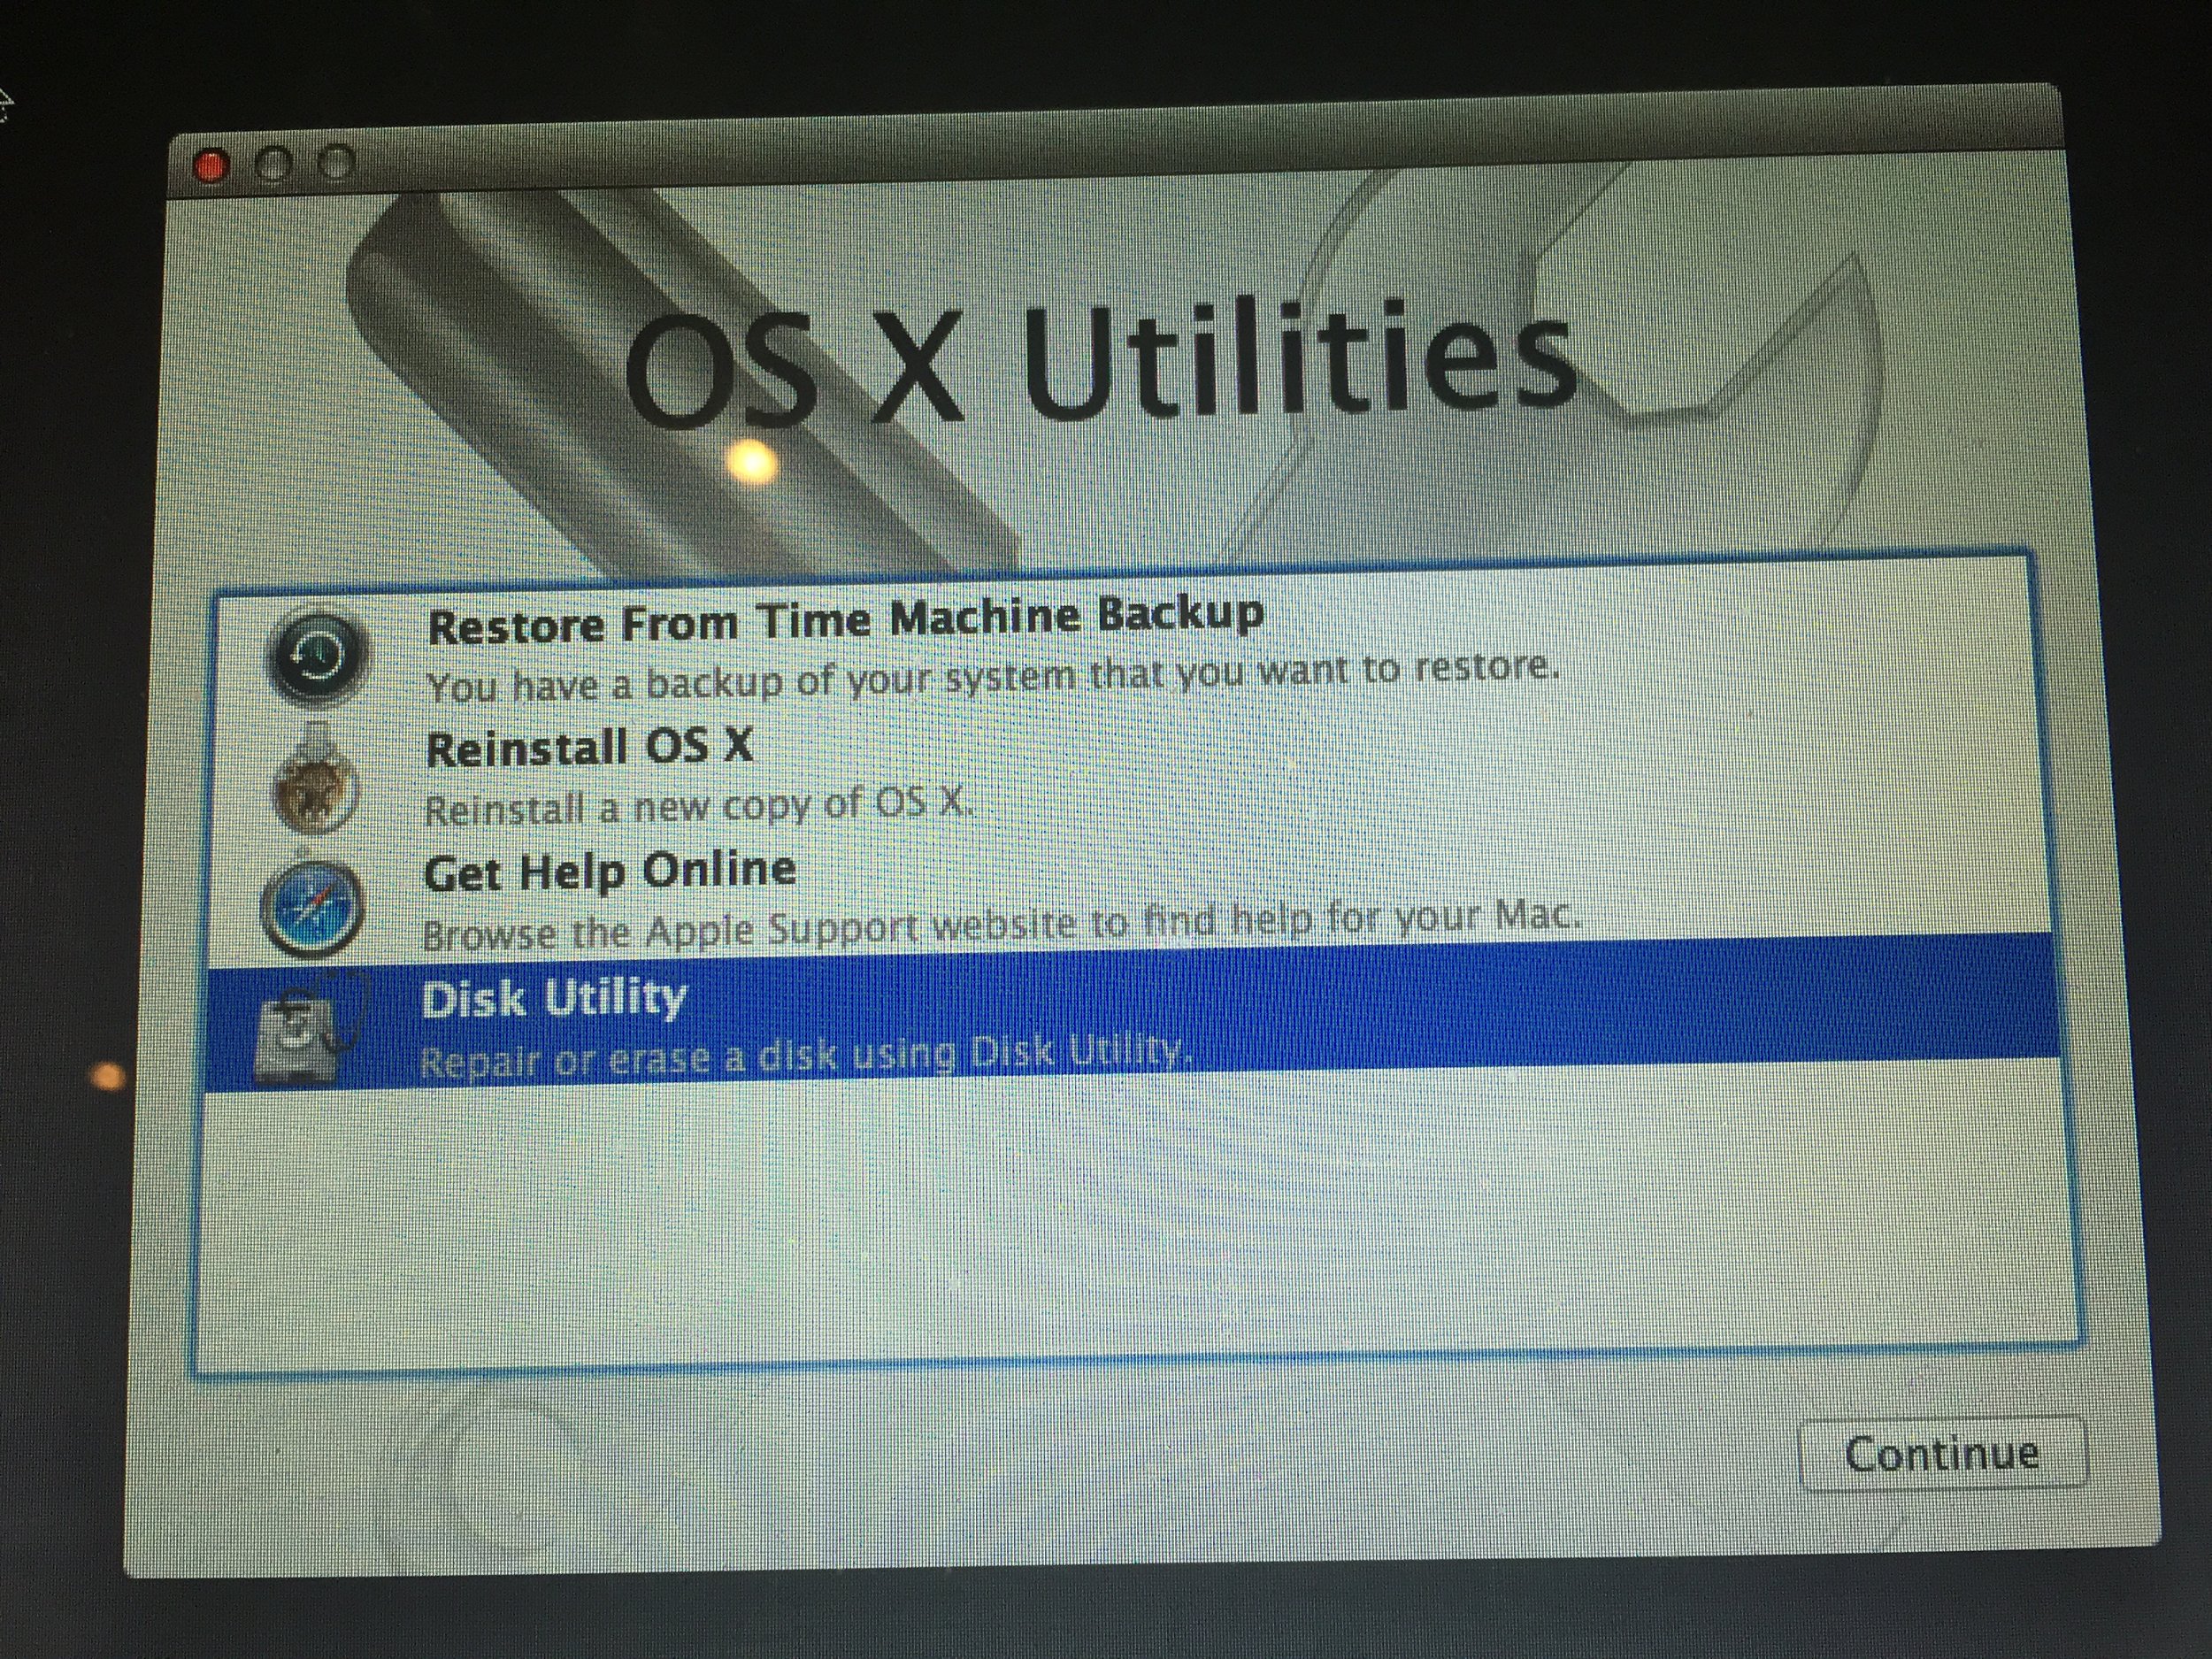
OK, pay attention as this part is important, the drive that we have installed is blank and unformatted, for the installation to continue we need to create a partition in order to install the operating system so for this part we need to enter Disk Utility

Follow the red dots, on this screen we want to select 3 things
1. 500.11GB Samsung SSD top left (this is the drive we want to format)
2. The Erase button
3. Give it a name (I have called this Mac but you can call it anything you like)
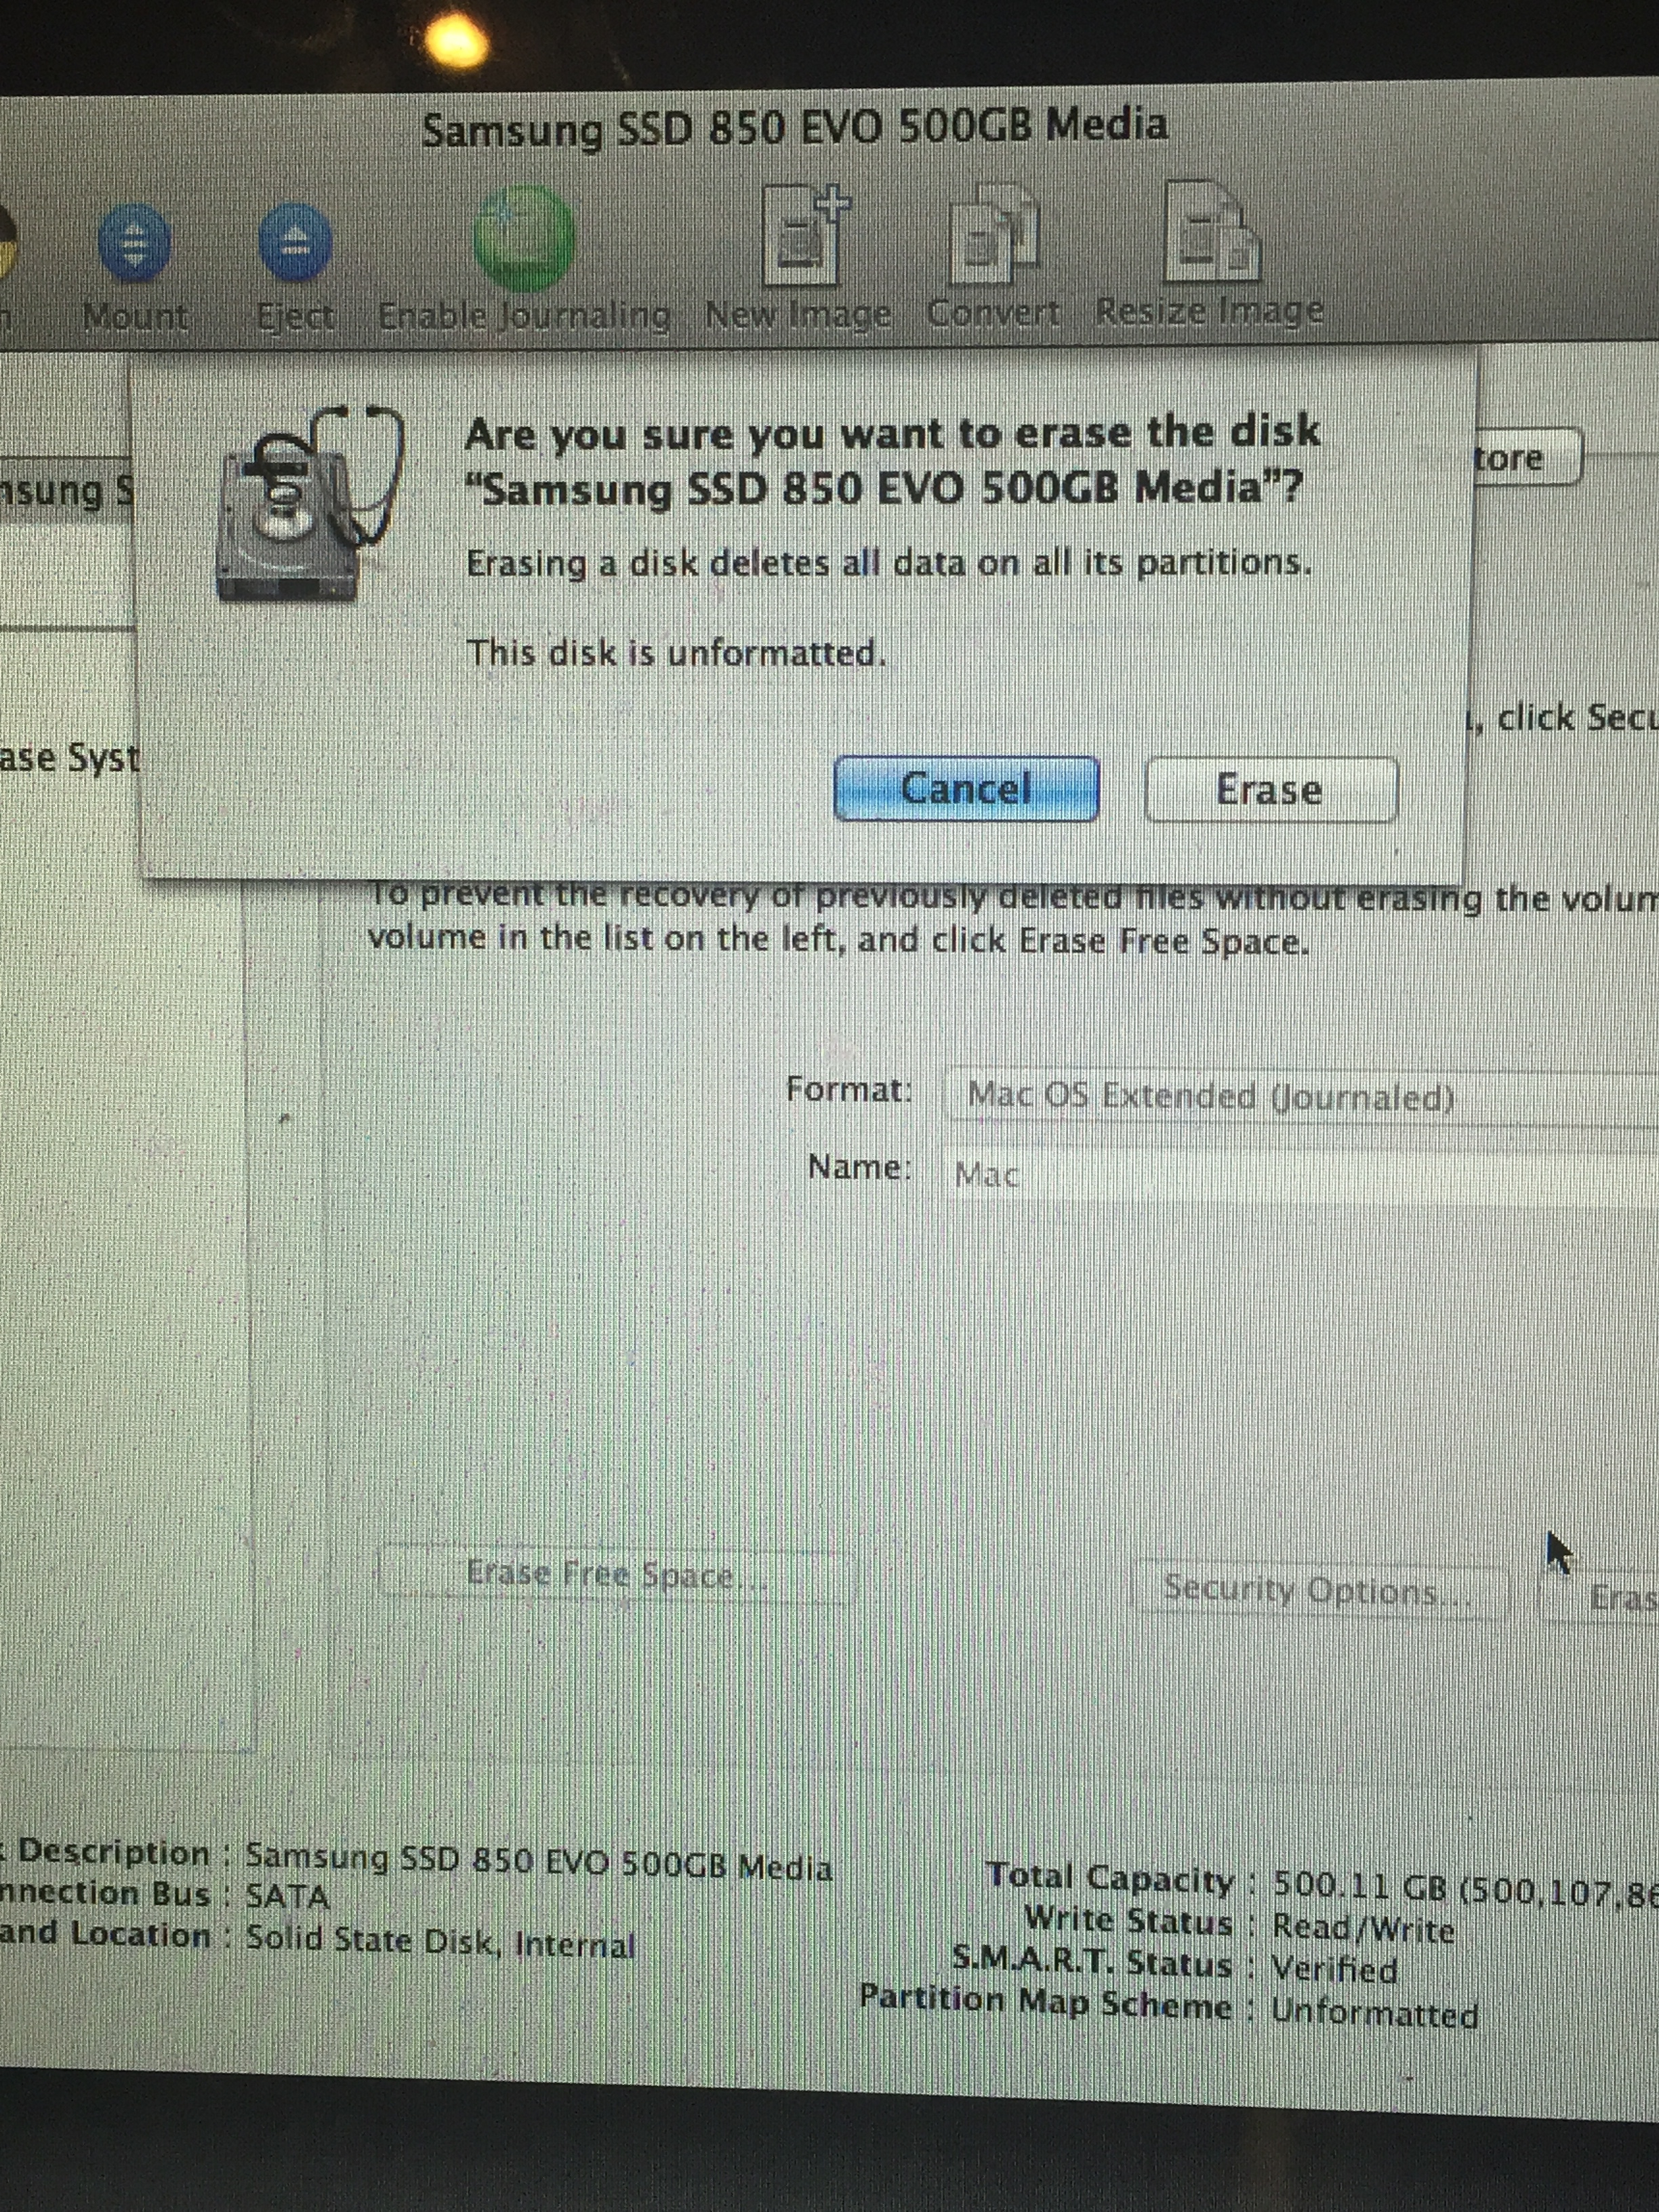
This is going to double check we know what we are doing , click Erase at this point to continue

Its not completely obvious what to do now, all you do it click the red dot x top left to close this window and take you back to the OS X Utilities screen.
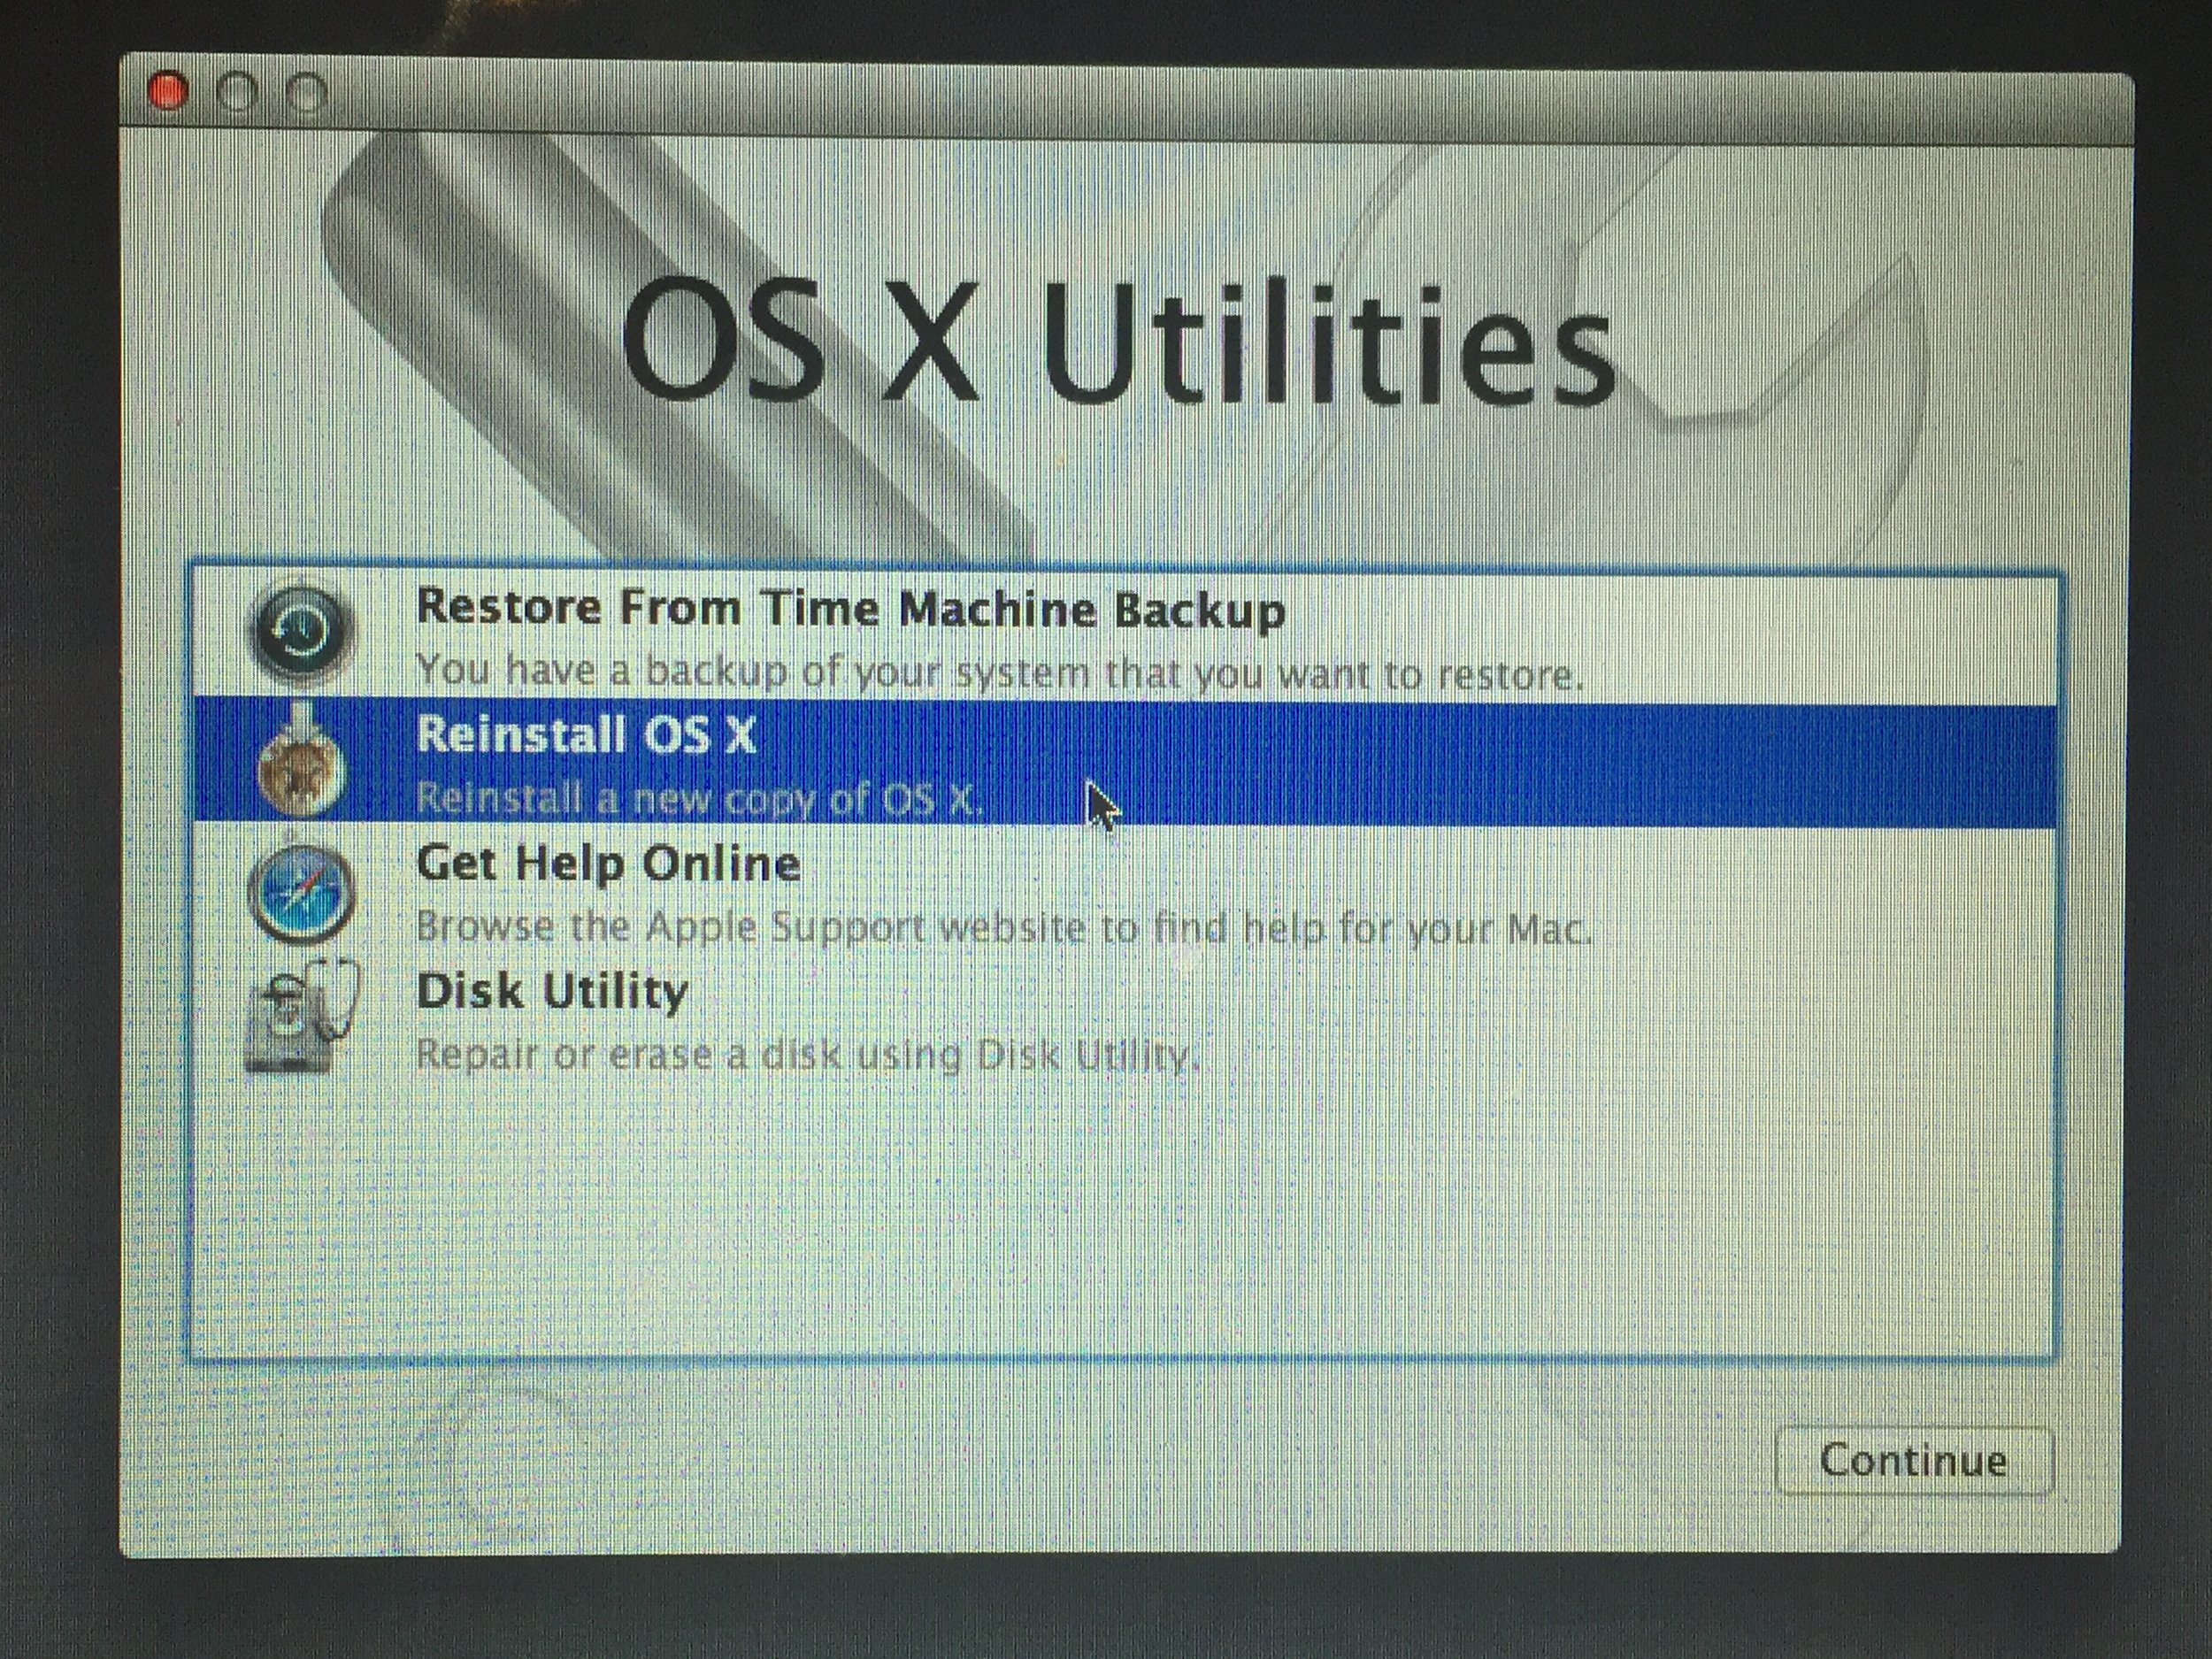
Now that the drive is prepared we can go ahead and click Reinstall OS X
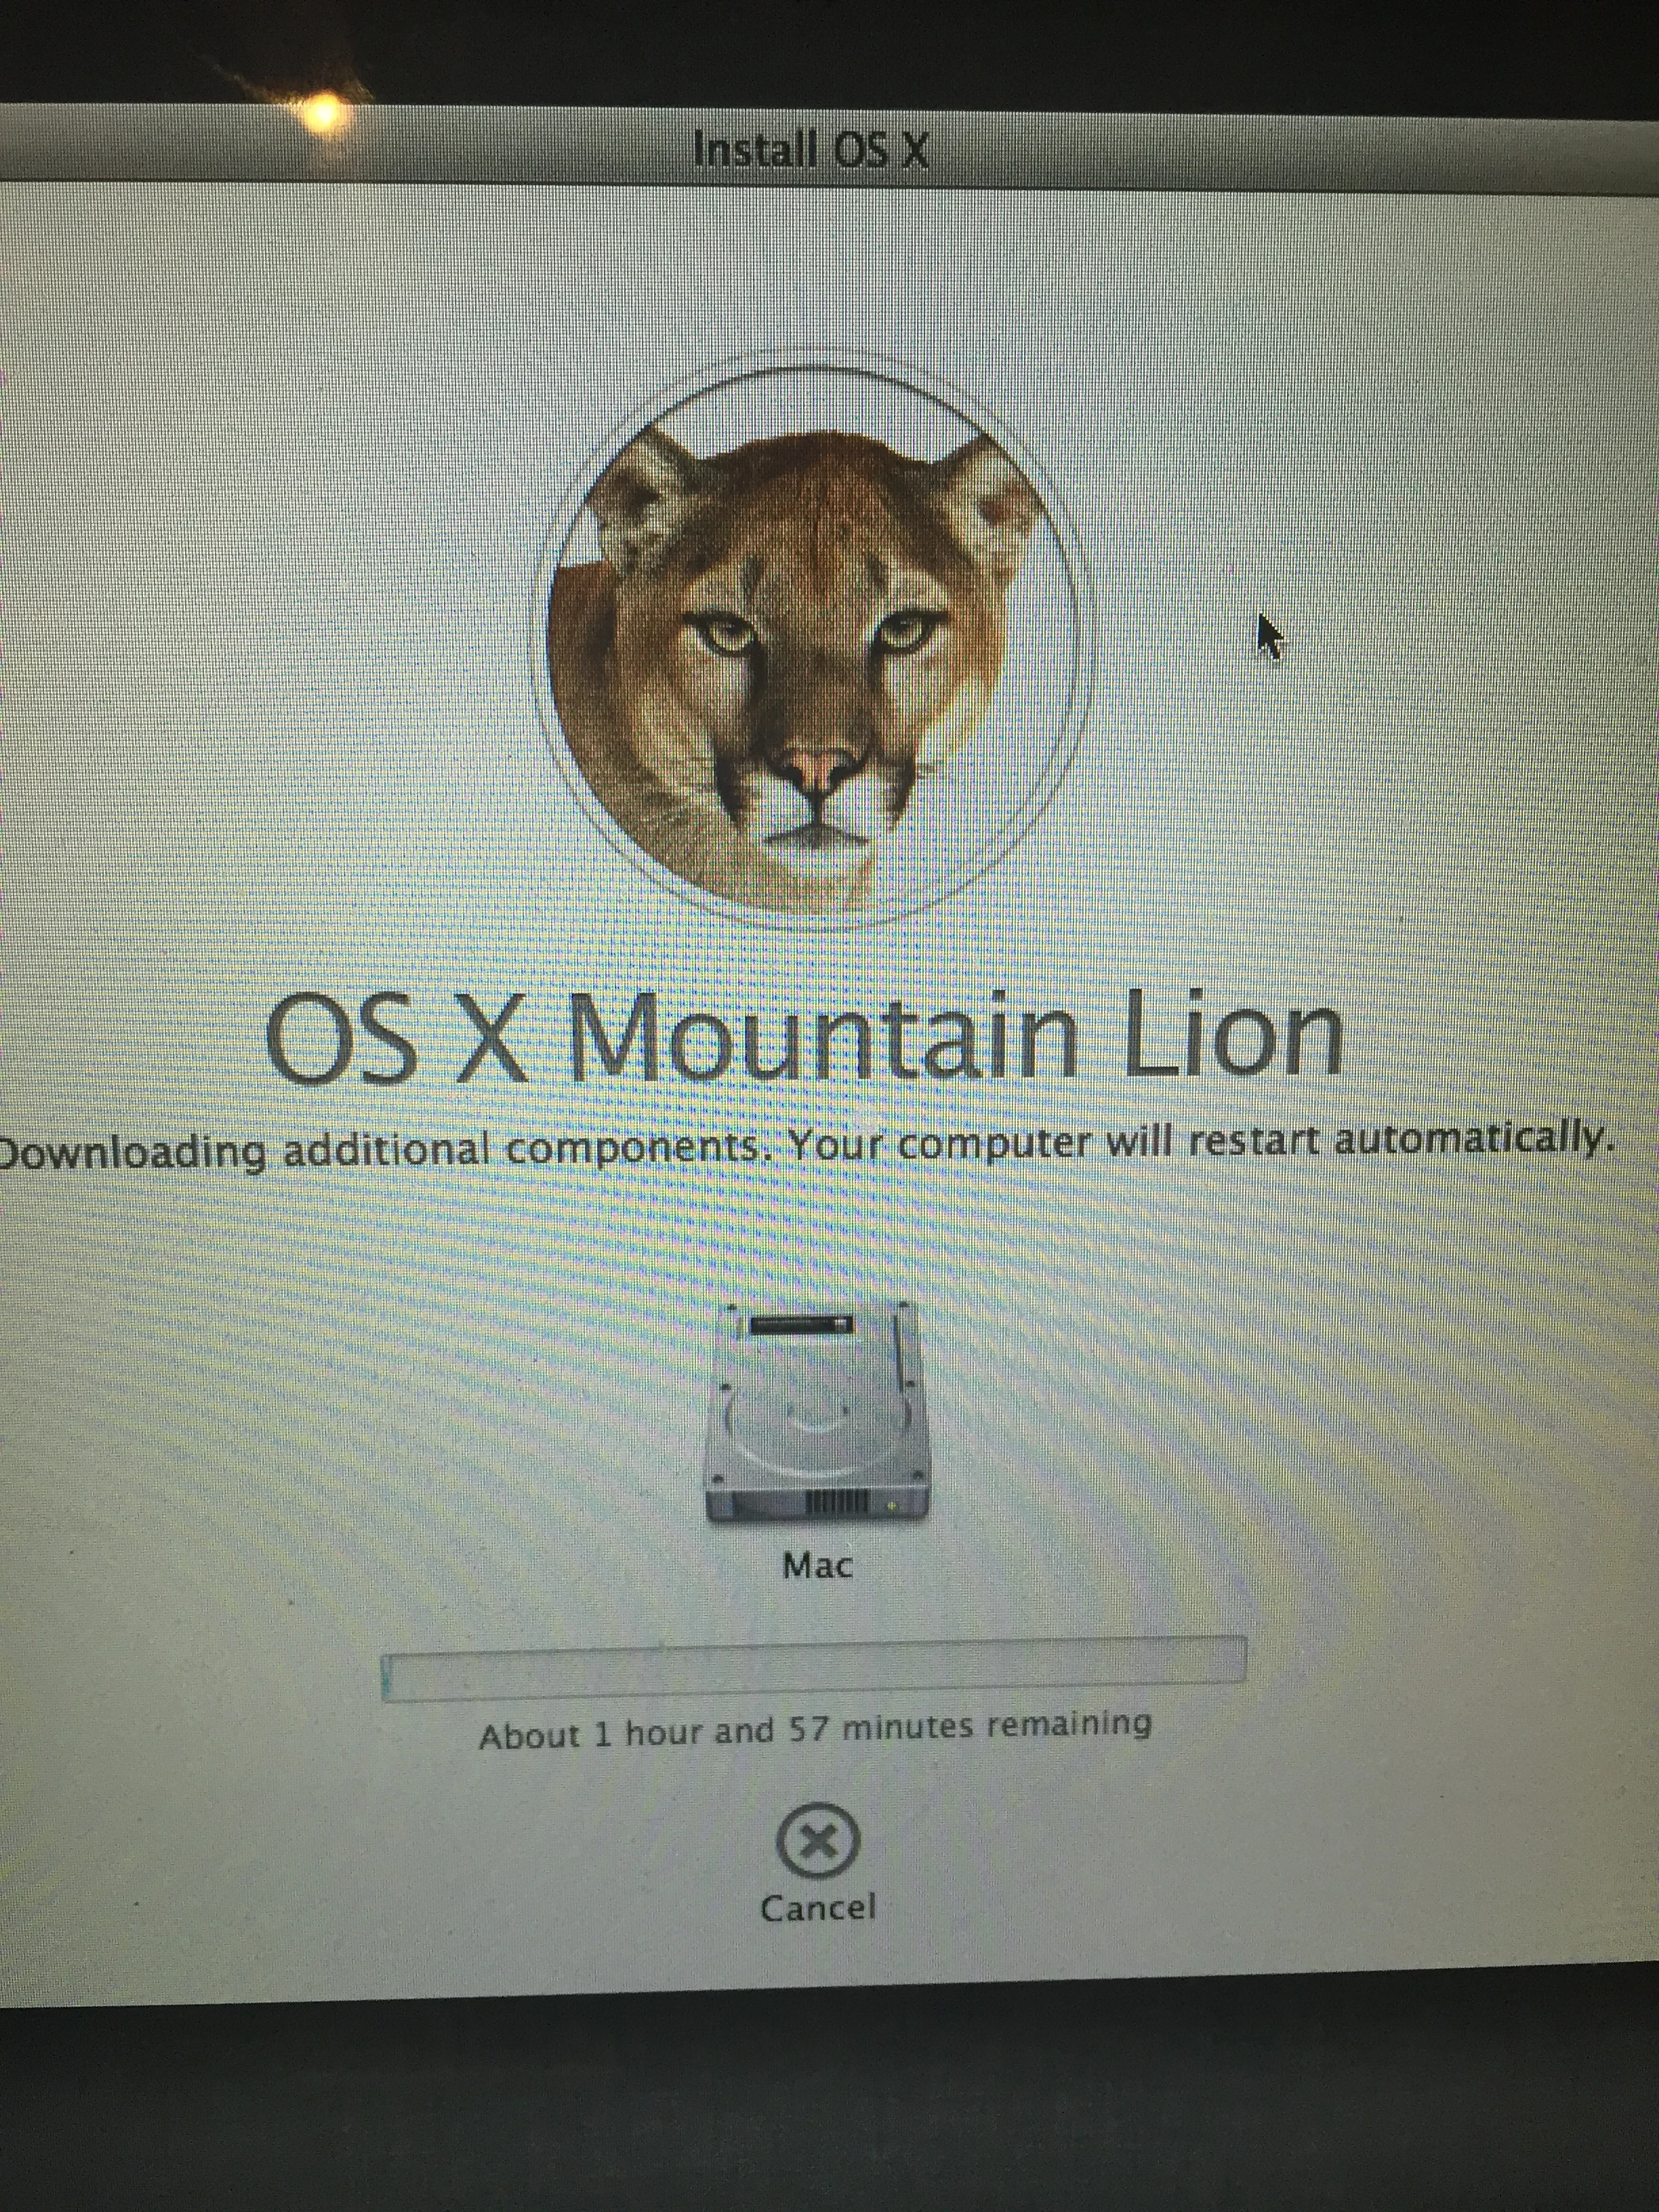
If everything has been done correctly at this screen you click on the hard drive icon in the middle and give you a time remaining. I left this one overnight at this point (make sure the power is attached)
One thing to remember is that it will reinstall the original operating system but you can upgrade this one this part is done.

When it is all done it will react like a brand new computer so follow the normal steps same as you usually would.

usually just say not now at this point as I can do what I want later

Enter you name and your password if you want one and your good to go. Give yourself a pat on the back from me - Andy